Automatic Wooden Gates Traditional Style with Modern Convenience
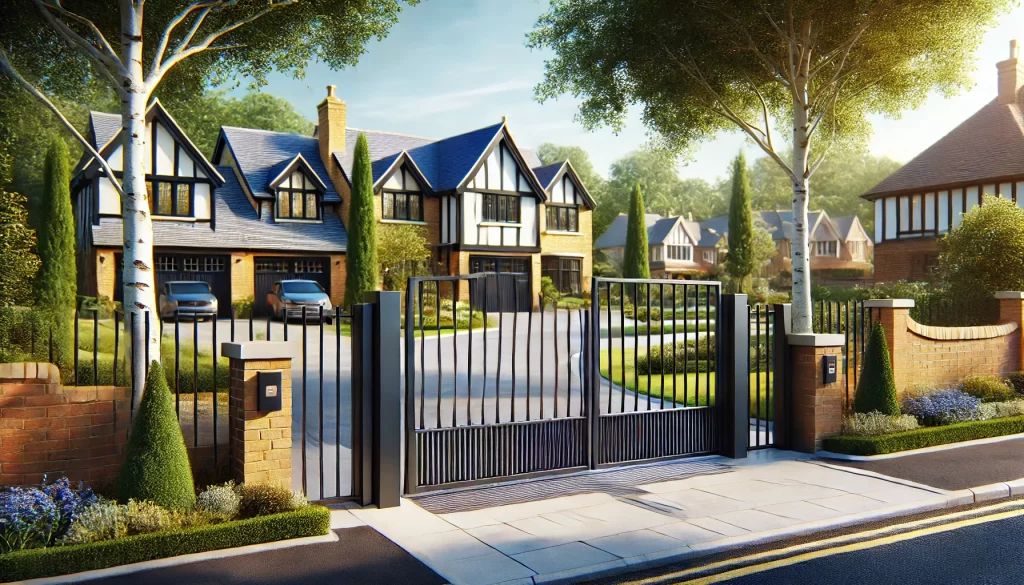
The entrance to your property is often the first impression visitors receive. Choosing the right gate can enhance both the appearance and security of your home or business. At Autogate, we specialise in providing the perfect automatic gate solutions for a wide range of properties, ensuring every entrance combines practicality, security and visual appeal.
Our wooden gates are crafted from high-quality timber and designed to suit both traditional and modern properties. Whether you are looking for a classic countryside entrance or a secure driveway gate, our expert team can design, supply and install the ideal solution for your needs.
Classic Wooden Gates with Timeless Appeal
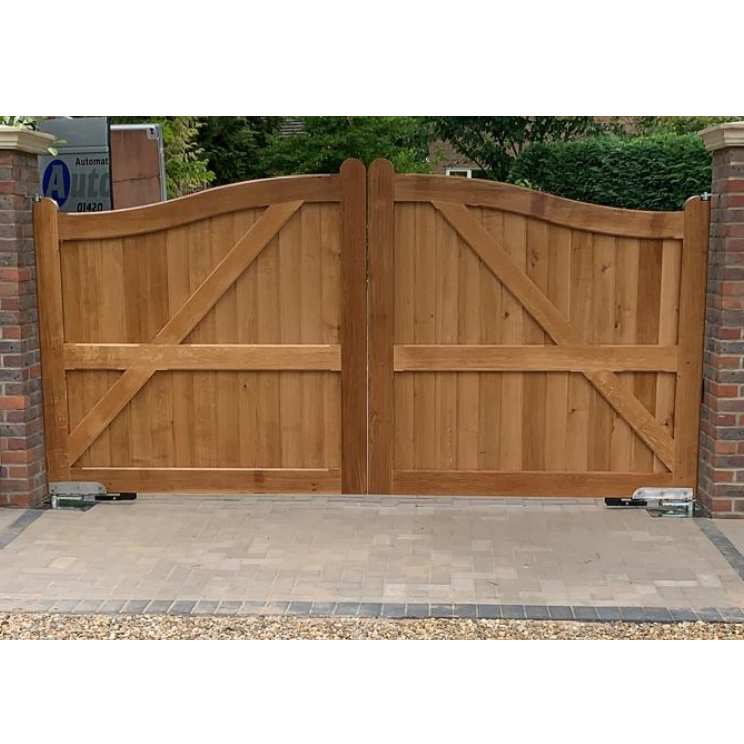
Wooden gates remain one of the most popular choices for property entrances due to their natural appearance and durability. Timber gates offer a warm, traditional look that blends beautifully with many architectural styles, particularly in rural or countryside settings.
Our open style wooden gates are ideal for homeowners who want a gate that is:
- Strong and durable
- Visually appealing
- Traditional yet stylish
- Secure and practical
Using quality timber and professional craftsmanship, our gates are designed to withstand the elements while maintaining their attractive appearance.
The Practical Charm of the Five Bar Gate
For many properties, particularly farms, country homes and rural estates, the traditional five bar gate remains a popular option. This classic design offers both practicality and character, making it an excellent choice for wide entrances and driveways.
Five bar gates are valued for their:
- Strong and reliable structure
- Traditional countryside appearance
- Suitable design for larger entrances
- Practical everyday use
When combined with modern automation systems, these gates offer the perfect balance of tradition and convenience.
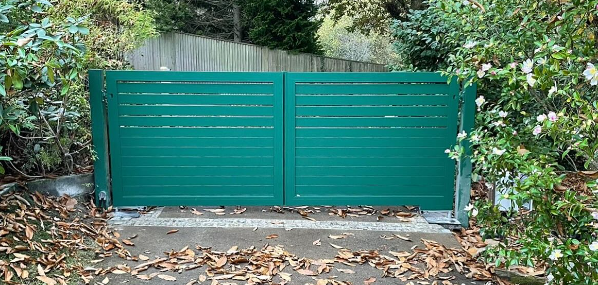
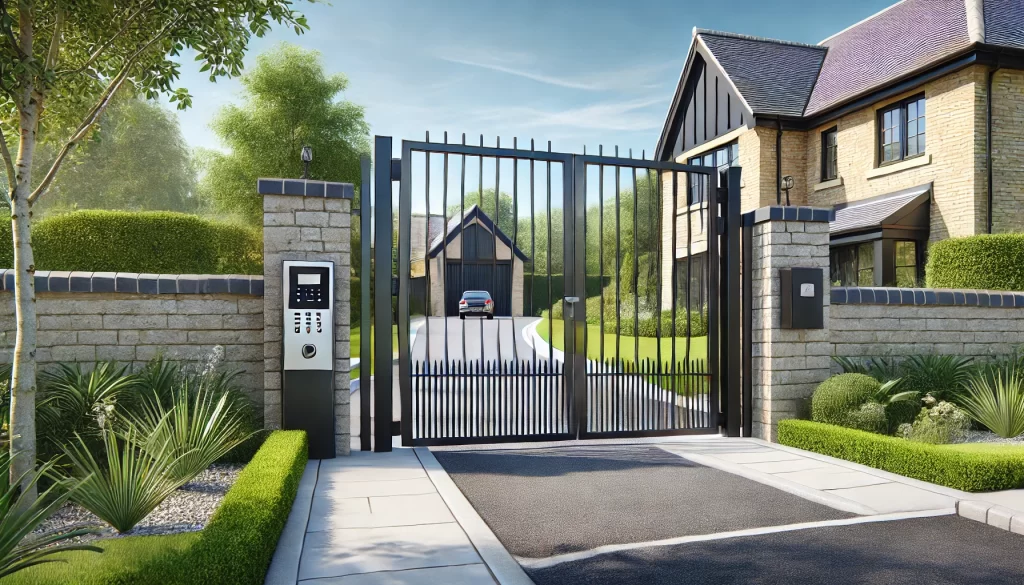
Automatic Gate Systems for Easy Access
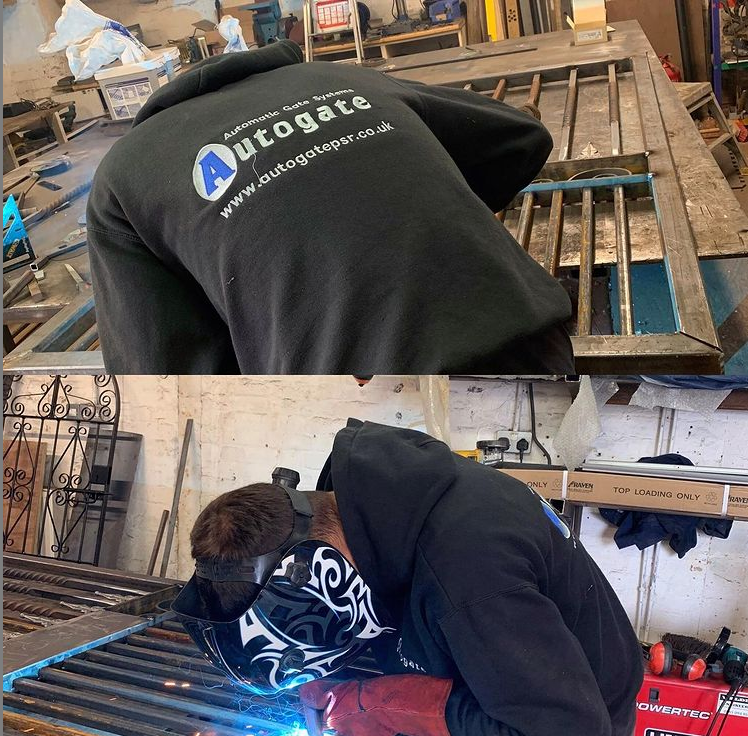
As experienced automated gate specialists, Autogate can provide complete automatic gate systems designed for ease of use and security. With the addition of automation technology, your gates can open and close effortlessly at the touch of a button.
Automated gate systems offer several benefits, including:
- Convenient remote access
- Increased property security
- Smooth and reliable operation
- Reduced manual effort
These systems are ideal for both residential driveways and commercial entrances.
Automation for Existing Timber Gates
If you already have timber gates installed, there may be no need to replace them entirely. In many cases, our team can add automated entry systems to existing manually operated gates, upgrading them with modern technology.
Our specialists will assess your current gates and recommend the most suitable automation solution to improve convenience while maintaining the original design.
Professional Design, Supply and Installation
At Autogate, we take pride in offering a complete service from start to finish. Our team works closely with each client to design and install automatic gates that suit the style of the property and meet individual requirements.
Our services include:
- Custom gate design
- Supply of high-quality timber gates
- Professional installation
- Automation system integration
With our expertise and attention to detail, you can be confident that your gate will be both functional and visually impressive.
Contact Autogate for Expert Gate Solutions
Whether you are looking for traditional wooden driveway gates or a modern automatic gate system, Autogate can provide the perfect solution for your property.
👉 Contact Autogate today to discuss your gate requirements and discover how automated timber gates can enhance your entrance.