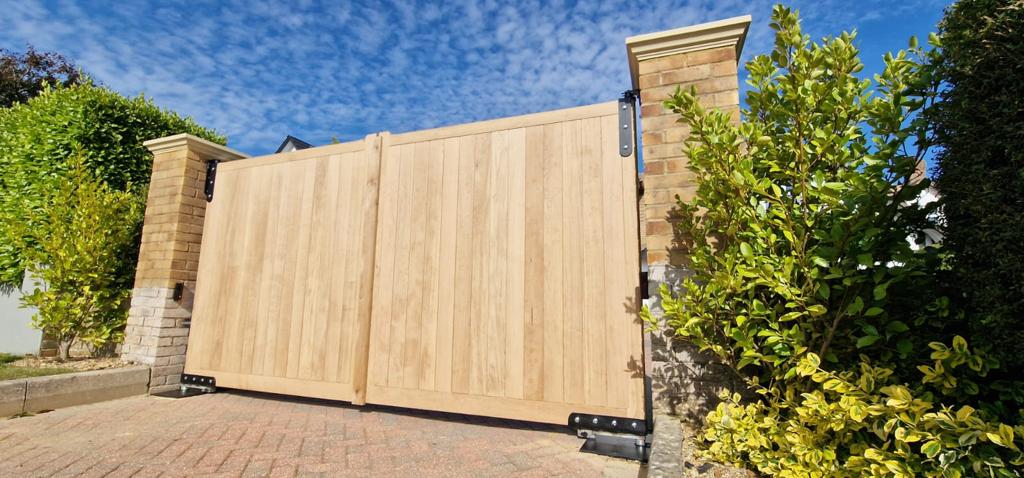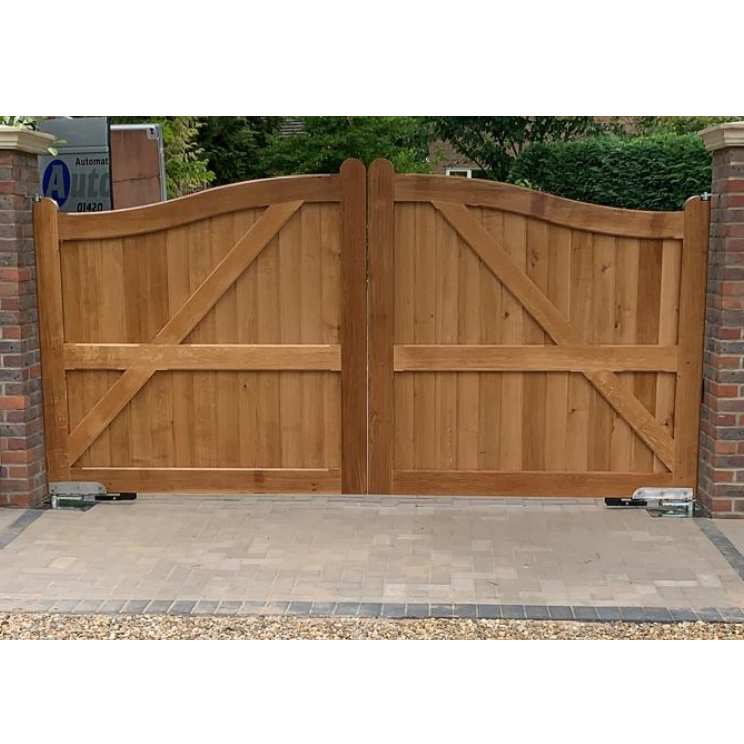
Autogate Wooden Closed Style Gates – Secure, Stylish & Durable Automatic Timber Gates
Wooden closed style gates are one of the most popular choices for homeowners and businesses looking to combine security, privacy, and traditional kerb appeal. With their solid construction and timeless appearance, timber gates provide an elegant entrance solution suitable for residential, commercial, and industrial properties across the UK.
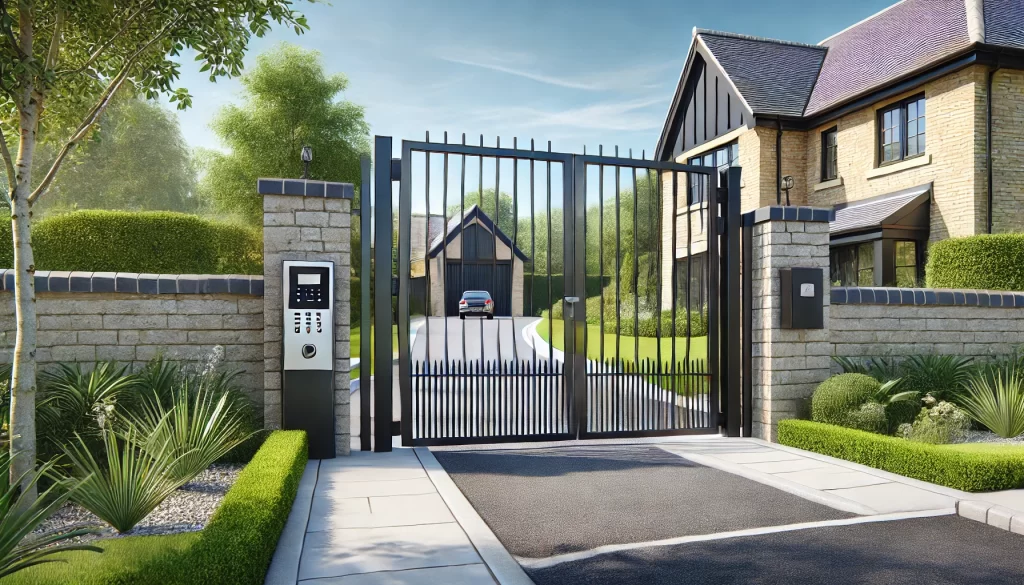
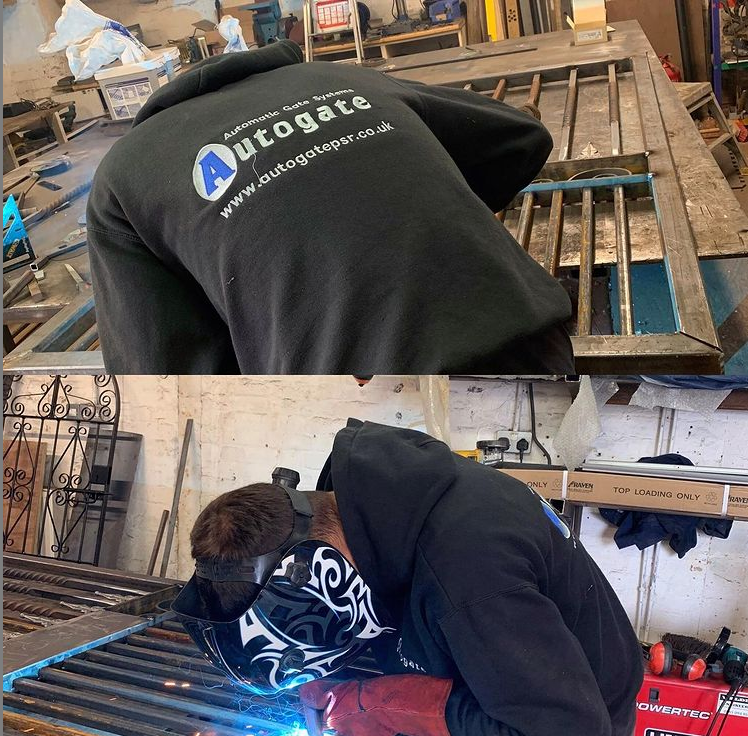
At Autogate, we specialise in supplying and installing high-quality automatic wooden closed style gates tailored to suit a wide range of properties and access requirements. With many years of experience in gate automation and timber gate installations, we provide reliable solutions that combine durability, functionality, and attractive design.
Whether you are looking for a new automatic driveway gate, bespoke timber entrance gates, or automation for your existing wooden gates, our experienced team can help deliver the perfect solution.
Why Choose Wooden Closed Style Gates?
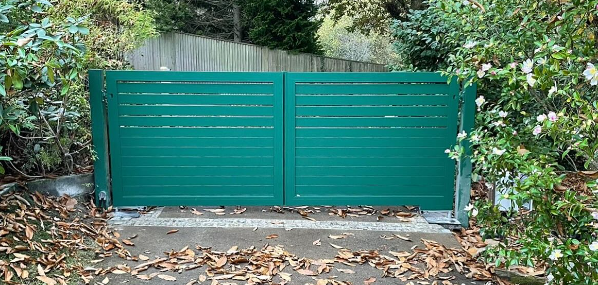
Closed style timber gates are designed with solid panels that provide greater privacy and security compared to open slatted designs. Their robust appearance creates a strong visual impact while helping to secure the property boundary effectively.
These gates are ideal for:
- Private driveways
- Residential properties
- Country homes
- Commercial premises
- Industrial entrances
- Gated developments
Their natural timber finish complements both traditional and modern properties, making them a versatile and attractive choice for many types of buildings.
The Benefits of Automatic Timber Gates
Automatic wooden gates provide far more than visual appeal alone. Modern gate automation systems offer practical advantages that improve convenience, safety, and access control.
Enhanced Security
Automatic closed style gates help restrict unauthorised access and create an additional level of protection for your property.
Increased Privacy
The solid closed-panel design reduces visibility into the property, creating a more private and secure environment.
Easy and Convenient Access
Electric gate automation allows gates to open and close smoothly using remote controls, keypads, intercom systems, or smartphone access.
Attractive Appearance
Timber gates add warmth, character, and elegance to the entrance of any property while increasing overall kerb appeal.
Durable and Long-Lasting
High-quality wooden gates are designed to withstand regular use and changing weather conditions while maintaining their strength and appearance.
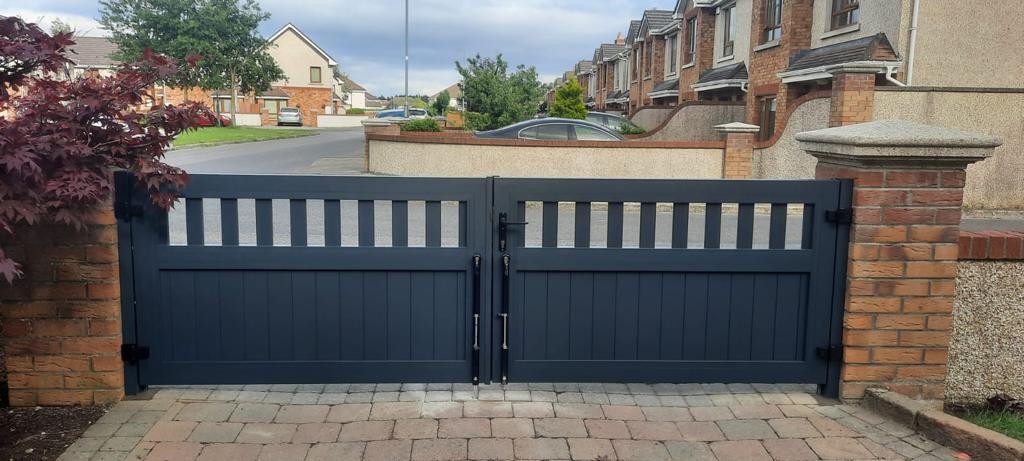
Bespoke Wooden Gate Solutions
At Autogate, we understand that every property is different. That is why we offer a wide selection of automatic wooden closed style gates in different designs, sizes, and timber constructions.
Our timber gates can be customised to suit:
- Modern homes
- Traditional properties
- Rural entrances
- Commercial premises
- Industrial sites
We can supply gates suitable for installation on:
- Brick piers
- Stone pillars
- Wooden posts
Our experienced team will help you choose the best gate style and automation system based on your property layout, security requirements, and personal preferences.
Automation for Existing Wooden Gates
If you already have manually operated timber gates, we may be able to install a professional automation system without replacing the existing gates.
Subject to a site survey, our team can assess whether your current gates are suitable for automation.
Factors considered include:
- Gate condition
- Structural strength
- Gate weight
- Existing support posts
- Available electrical supply
Automating existing wooden gates can be a cost-effective way to improve convenience and security while maintaining the appearance of your current entrance.
Professional Installation You Can Trust
At Autogate, we pride ourselves on delivering professional workmanship and reliable installation services. Our experienced engineers ensure every gate system is fitted safely, securely, and to the highest standard.
From initial consultation through to final installation, we focus on delivering solutions that combine performance, durability, and visual appeal.
Why Choose Autogate?
Customers across the UK choose Autogate because we offer:
- Many years of gate automation experience
- High-quality timber gate solutions
- Bespoke gate designs and sizes
- Professional installation services
- Residential, commercial, and industrial expertise
- Reliable automation systems
- Friendly and knowledgeable support
We are committed to helping customers improve the security, privacy, and appearance of their property with expertly installed automatic timber gates.
Contact Autogate Today
If you are looking for high-quality automatic wooden closed style gates, Autogate can provide the ideal solution tailored to your property and requirements.
Whether you need a brand-new timber gate installation or want to automate existing wooden gates, our experienced team is ready to help.
Contact Autogate today to discuss your project and discover our range of stylish, secure, and durable automatic timber gate solutions.